• About

Category Archives: DIY

Light Bulb! Untied

22 Wednesday Apr 2015

Posted by clearlycorinna in DIY, Light Bulb!, Outfits

≈ 4 Comments

Tags

Converse All Stars, DIY Slip ons, keeping white sneakers white, Scotch Gaurd

Converse All Stars slip onsI have been looking for slip on white All Stars for years, but could never find them.  So I decided to make my own!  Who wants to mess with tying laces everyday — I have found life is so much easier with slip-ons.  I just replaced the laces with elastic I bought a the local craft store, laced them up, slipped them on to make sure they were tight enough but not too tight, trimmed the ends an tied them into knots.  Voila!

Another tip for white canvas sneakers…Spray them with Scotch Guard before you ever wear them, it will keep them whiter longer.  Learned that one from a fellow cheerleader back in college.  Genius.

Light Bulb! Gift Tags from Holiday Cards

17 Wednesday Dec 2014

Posted by clearlycorinna in DIY, Holidays, Light Bulb!

≈ Leave a comment

Tags

DIY gift tags, Recycled Holiday Cards

image

Last year’s holiday cards become this year’s gift tags.  Save the cards in your holiday storage totes, so when you unpack for the next year they are right there remininding you that you have gift tags! Cut out the image that you like, hole punch and attach!  These are cookies and dish towels for 2 of my sister-in-laws. Let the gifting begin!

imageimage


Simple Wish List Wall Art

05 Friday Dec 2014

Posted by clearlycorinna in DIY, Holidays, Light Bulb!

≈ Leave a comment

Tags

Christmas Wish list ideas, kraft paper project, Metallic Sharpies


imageMy kids are in mode!  The toy catalogs are in and higlighted to the max!  I need to corral all of this wish listing.  So I came up with this idea so they have a place where they can write down exactly what they want.  When the phone calls come in asking what the kids want for Christmas, I will be prepared.

Using kraft wrapping paper I bought at Ollie’s sometime this summer, I freehand drew the shape I liked and cut.  Then I did the lettering the same way I did it for the chalkboard project.  The fonts I used are La Chatte a Maman (on the left) and King’s Last Quest. I chose the font size based on what would fit on an 8 1/2 x 11 sheet of paper.  I used white chalk to color the back of the sheet, traced the letters and followed the pattern with gold and copper sharpies.  I decided to tape a seperate sheet of paper so I can reused the kraft paper part every year.  Each list is  30″ x 17″ and I stuck it to the wall with ticky tac (love this stuff). This definitely is a low budget project, but I really like the idea.  I know some of you out there can take it to the next level!  I’d love to see what you come up with!

Light Bulb! Business Card Magnets

30 Sunday Nov 2014

Posted by clearlycorinna in DIY, Home, Light Bulb!

≈ Leave a comment

Tags

Business Crad Magnets, DIY Photo Magnet, Great ideas for Magnets, Refrigerator Gallery Wall, School Photos, Team Photos

DSC02627I have been using Business Card Magnets for years!  I started buying them for their intended use, to put my business card on them for customers.  Now I use them for so much more! I have mini gallery walls on my fridge and the door going into the garage.  I’ve also used it on bumper stickers that I didn’t want stuck and this past vacation, when I couldn’t find a souvenir I liked, I bought a patch of the Turks and Caicos flag for less than $5 and made it into a magnet. They are so useful, I recommend picking up a pack and creating your own refrigerator gallery wall!

    DSC02622DSC02621DSC02623DSC02625 DSC02626


Light Bulb! Lite Brite Peg Sorting

23 Sunday Nov 2014

Posted by clearlycorinna in DIY, Light Bulb!

≈ Leave a comment

Tags

Ice Cube Tray uses, Lite Brite peg sorting, Lite Brite Turkey, Thanksgiving Lite Brite

 DSC02604

Use an old white ice cube tray to sort Lite Brite pegs.  Orange, pink and red look almost the same when they are in the tray underneath the screen.  We also use this one for painting.

We bought this Lite Brite for G last Christmas, she hasn’t used it much but every once in a while it come out.  We decided yesterday that we were going to do a turkey for Thanksgiving.  So I searched online and found this image:

Thanksgiving Lite Brite

The screen is 6 3/4″ by 6 3/4 inch, so I printed the image (which was smaller than that) then made a color copy and enlarged it to “fit page”.  trimmed it down so it would slide in perfectly and off we go.  The pegs don’t go exactly where the dot is.. and we ran out of white pegs.. but we are improvising and I’m sure it will look great!


Hooded Towel DIY

18 Tuesday Nov 2014

Posted by clearlycorinna in DIY

≈ Leave a comment

Tags

DIY, Easy Sew Project, Hooded Towel, Ikea Towels

DSC02569

SNOW DAY!!!!

What to do?  T got a call from a friend to play so G and I tackled a long delayed project, hooded towels.  We loved these when the kids were little but then they grew and I could not find a decent sized hooded towel for them.  They are perfect for post tubby/shower wrap ups!  These bath sheets are from Ikea.  They are huge, 39″ x 59″ and they have a great little loop for hanging.

DSC02565

So you’ll need a bath towel/sheet and a hand towel.  I chose matching patterns but a contrast would be cute too.

DSC02551

Step 1: Fold the hand towel in half, Like a hamburger roll not a hot dog roll, and cut it (in half).

DSC02553DSC02554DSC02555

Step 2: Then fold it in half again, so the raw edges meet, good side in.  Pin the raw edges together (this will be the top of the hood).

DSC02556

DSC02557

Step 3: Then sew along that edge.. first a straight line, then zigzag over that line twice and finish with another straight line.  Just to make extra sure it won’t come apart when washing.  This will give the hood a point.  If you’re ok with that move to Step 6.

DSC02560Step 4: Once sewn, lay the hood out like this and measure and inch or 2 from the tip and sew a straight line across.  This will flatten out the tip.

DSC02559DSC02561

Step 5: Cut the tip of the hood above the sew line.

DSC02564

DSC02563

Step 6: Attach the hood to the bath towel/sheet.  Match up the center of the hood with the center of the sheet before pinning it.  You want the seam to be on the inside of the towel so be sure to pin that way.  I laid it on top of the towel and did a straight stich from one end of the hood to the other.  Time will tell if that will be enough to hold it.

DSC02566

And that’s it! Each towel took me less than an hour.  The kids love them!

Treats for School

30 Thursday Oct 2014

Posted by clearlycorinna in DIY

≈ 2 Comments

Tags

Candy Corn Treat Bag, Cheetos, Halloween Jokes for kids, Halloween Treat ideas

DSC02321

Instead of candy, I am sending glow in the dark Cheetos to school.  The bag glows, not the Cheetos.  Anyway, I always like to make a tag of some sort so the kids know who the treat came from.  This time I decided to make little sleeves to send my message and instead of Happy Halloween or some clever play one words message (“witching” you a Halloween)  I am printing “Cheesy” jokes.. so easy.. I scoured the internet and found ones I thought appropriate and “Cheesy” enough.  I am printing them on Fluorescent orange paper, 8 1/2 by 11.  I cut between each joke and taped it around each mini bag of Cheetos.  You could make it “corny” jokes too.. and attach it to bags of candy corn or Fritos. The font I used is called An Unfortunate Event.  Here is a printable copy.

Halloween Joke sleeves

Here are the jokes:

What is a witch‘ s favorite subject in school ?

Spell – ing !

What did the little bird say on Halloweeen ?

Trick or Tweet !

Where do Ghosts buy their food ?

The Ghost – ery Store !

What do you get when you cross a snowman with a vampire ?

Frost Bite !

What is a scarecrow’s favorite fruit?

Straw – berries

What is a mummy s favorite type of music ?

Wrap Music !

What did the skeleton order for dinner ?

Ribs !

Where does Frankenstein like to swim ?

Lake Eerie !

Why couldn‘t the Vampire play Baseball ?

Because he forgot his bat !

How do you open the door to a haunted house ?

With a spoo – key !

Where do Ghosts and Goblins buy their favorite cookies ?

The Ghoul Scouts

Wyld Style Costume

28 Tuesday Oct 2014

Posted by clearlycorinna in DIY

≈ Leave a comment

Tags

DIY Costume, Girl Costume Ideas, Tulip Dimensional fabric paint, Wyld Style Costume

DSC02376Wyldstyle-hood

It’s Halloween and I love to make my kids’ costumes!  It’s the nostalgia of it all.  My Mom did it for my brother and me and I feel like a homemade costume is so much better that a store bought one.  Don’t get me wrong,  I buy costumes too, but if I think I can make it, that is my preference.  The last couple of years, T wanted to be a Star Wars Character–way above my pay grade.  So G has had all the benefits of my crafting bug.  It’s not finished, but I’ve got the basics moving right along and I thought I’d share what I’ve got so far.

I started with a sweat suit from Hanes.com.  Black hoodie (11.99), black sweat pants (4.99).  Then I decided to work with dimensional fabric paint, the kind that bubbles.  Fluorescent Pink and Glow in the Dark Blue.

After scouring the internet for images (because the actual lego figure is so small, I could barely make out the detail) First, I drew with chalk a basic design to follow.

DSC02307

I started with the blue.

DSC02308

It took me a white to get my form,  I tried spreading it with a toothpick. Don’t do this.

DSC02309

In the end, a steady hand gave me the best results.  Consistant pressure on the bottle and making sure my hand had a place to rest while I was “drawing” and squeezing gave the best results.

Here’s the front (still mastering the technique).

DSC02312

The sleeve has turned out much cleaner.

DSC02313

This takes a day or so to dry, so if you are attempting a project like this, give yourself plenty of drying time for each side.

For her hair we added little hair pieces that she chose at Chuckie Cheese as her prizes.  I can’t believe we actually got something useful from that place!  And that will wrap it up.

Update: If you’re attempting a project like this, start on the back of the sweat shirt where you can make all your mistakes.  I finished the pants and back this morning and both look so much better than the front.  Oh well, live and learn. 

DIY Chandelier

14 Tuesday Oct 2014

Posted by clearlycorinna in DIY, Home

≈ Leave a comment

Tags

chandelier, DIY, exposed bulbs, gold spray paint, Krylon 18k gold plate, Tory Burch office

I have been looking at chandeliers for my family room for a long time (maybe 2 years?).  It takes me a long time to make decisions on these kinds of things but when I do, I love what I’ve chosen.  So of course, the one that I drooled over was $15,000.  Not happening. Even the knock off was $1,700.  Better, but still…no.  I was looking for the knock off of the knock off, but it never came, so I switched gears.

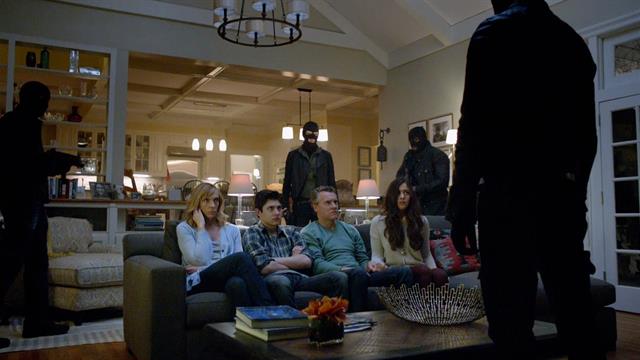
Then I started watching Hostages on CBS and saw this chandelier…

hostages chandelier

and it started me in a new direction.. but I wasn’t sold.  I wanted something more modern looking, less traditional, is that transitional?  Anyway, I started looking on Overstock for something more reasonable.  Then I saw some more photos of inspiration..

JeanLiuDesign_5

and

d3b5e8c9f9c6b95f3aeb9f6d4c212d82

but this put me into action..Tory Burch’s Office, I’m in love…

tory-burch-office-600x553

So this is my plan, find a chandelier and paint it gold.  Also, I wanted to take advantage of the exposed bulb trend going on right now (like this and this). Of course Hubby was against it.  Why would you buy something and then paint it?  But let’s face it, girls, sometimes that haven’t even designed the things that we want.  So we have to take matters in our own hands.

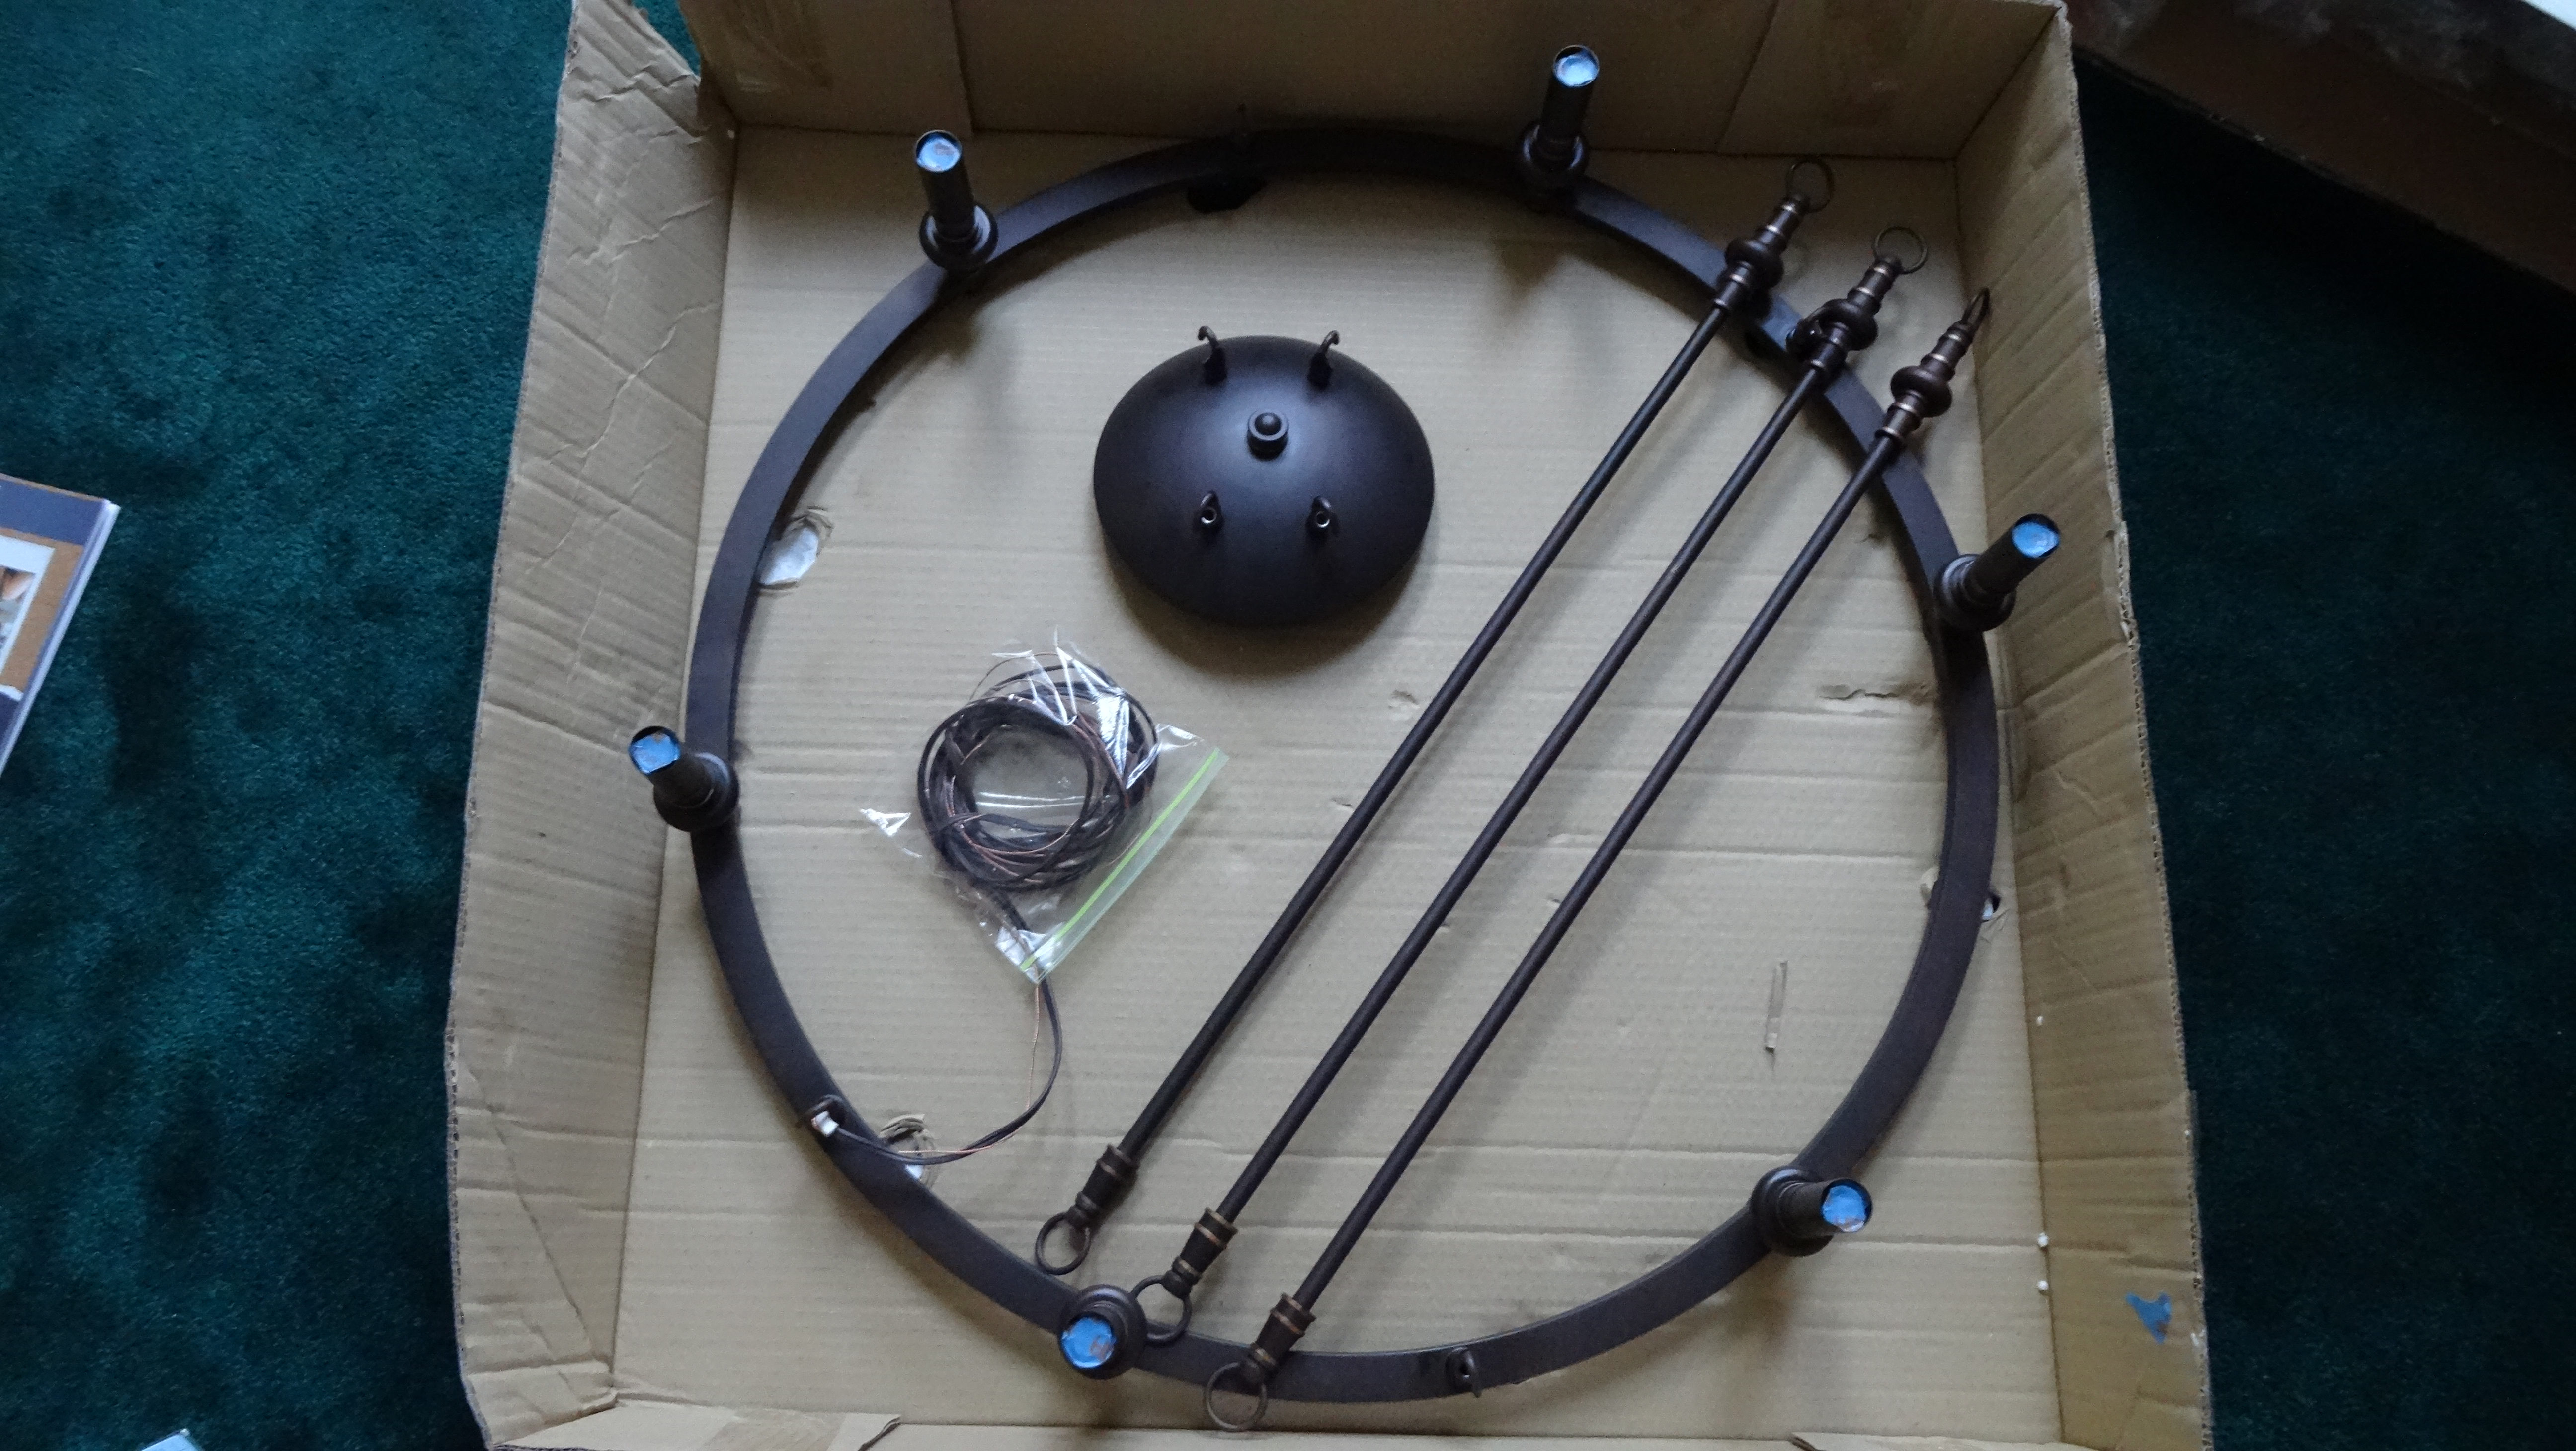
I finally wore him down.  I found this one at Home Depot.DSC01141

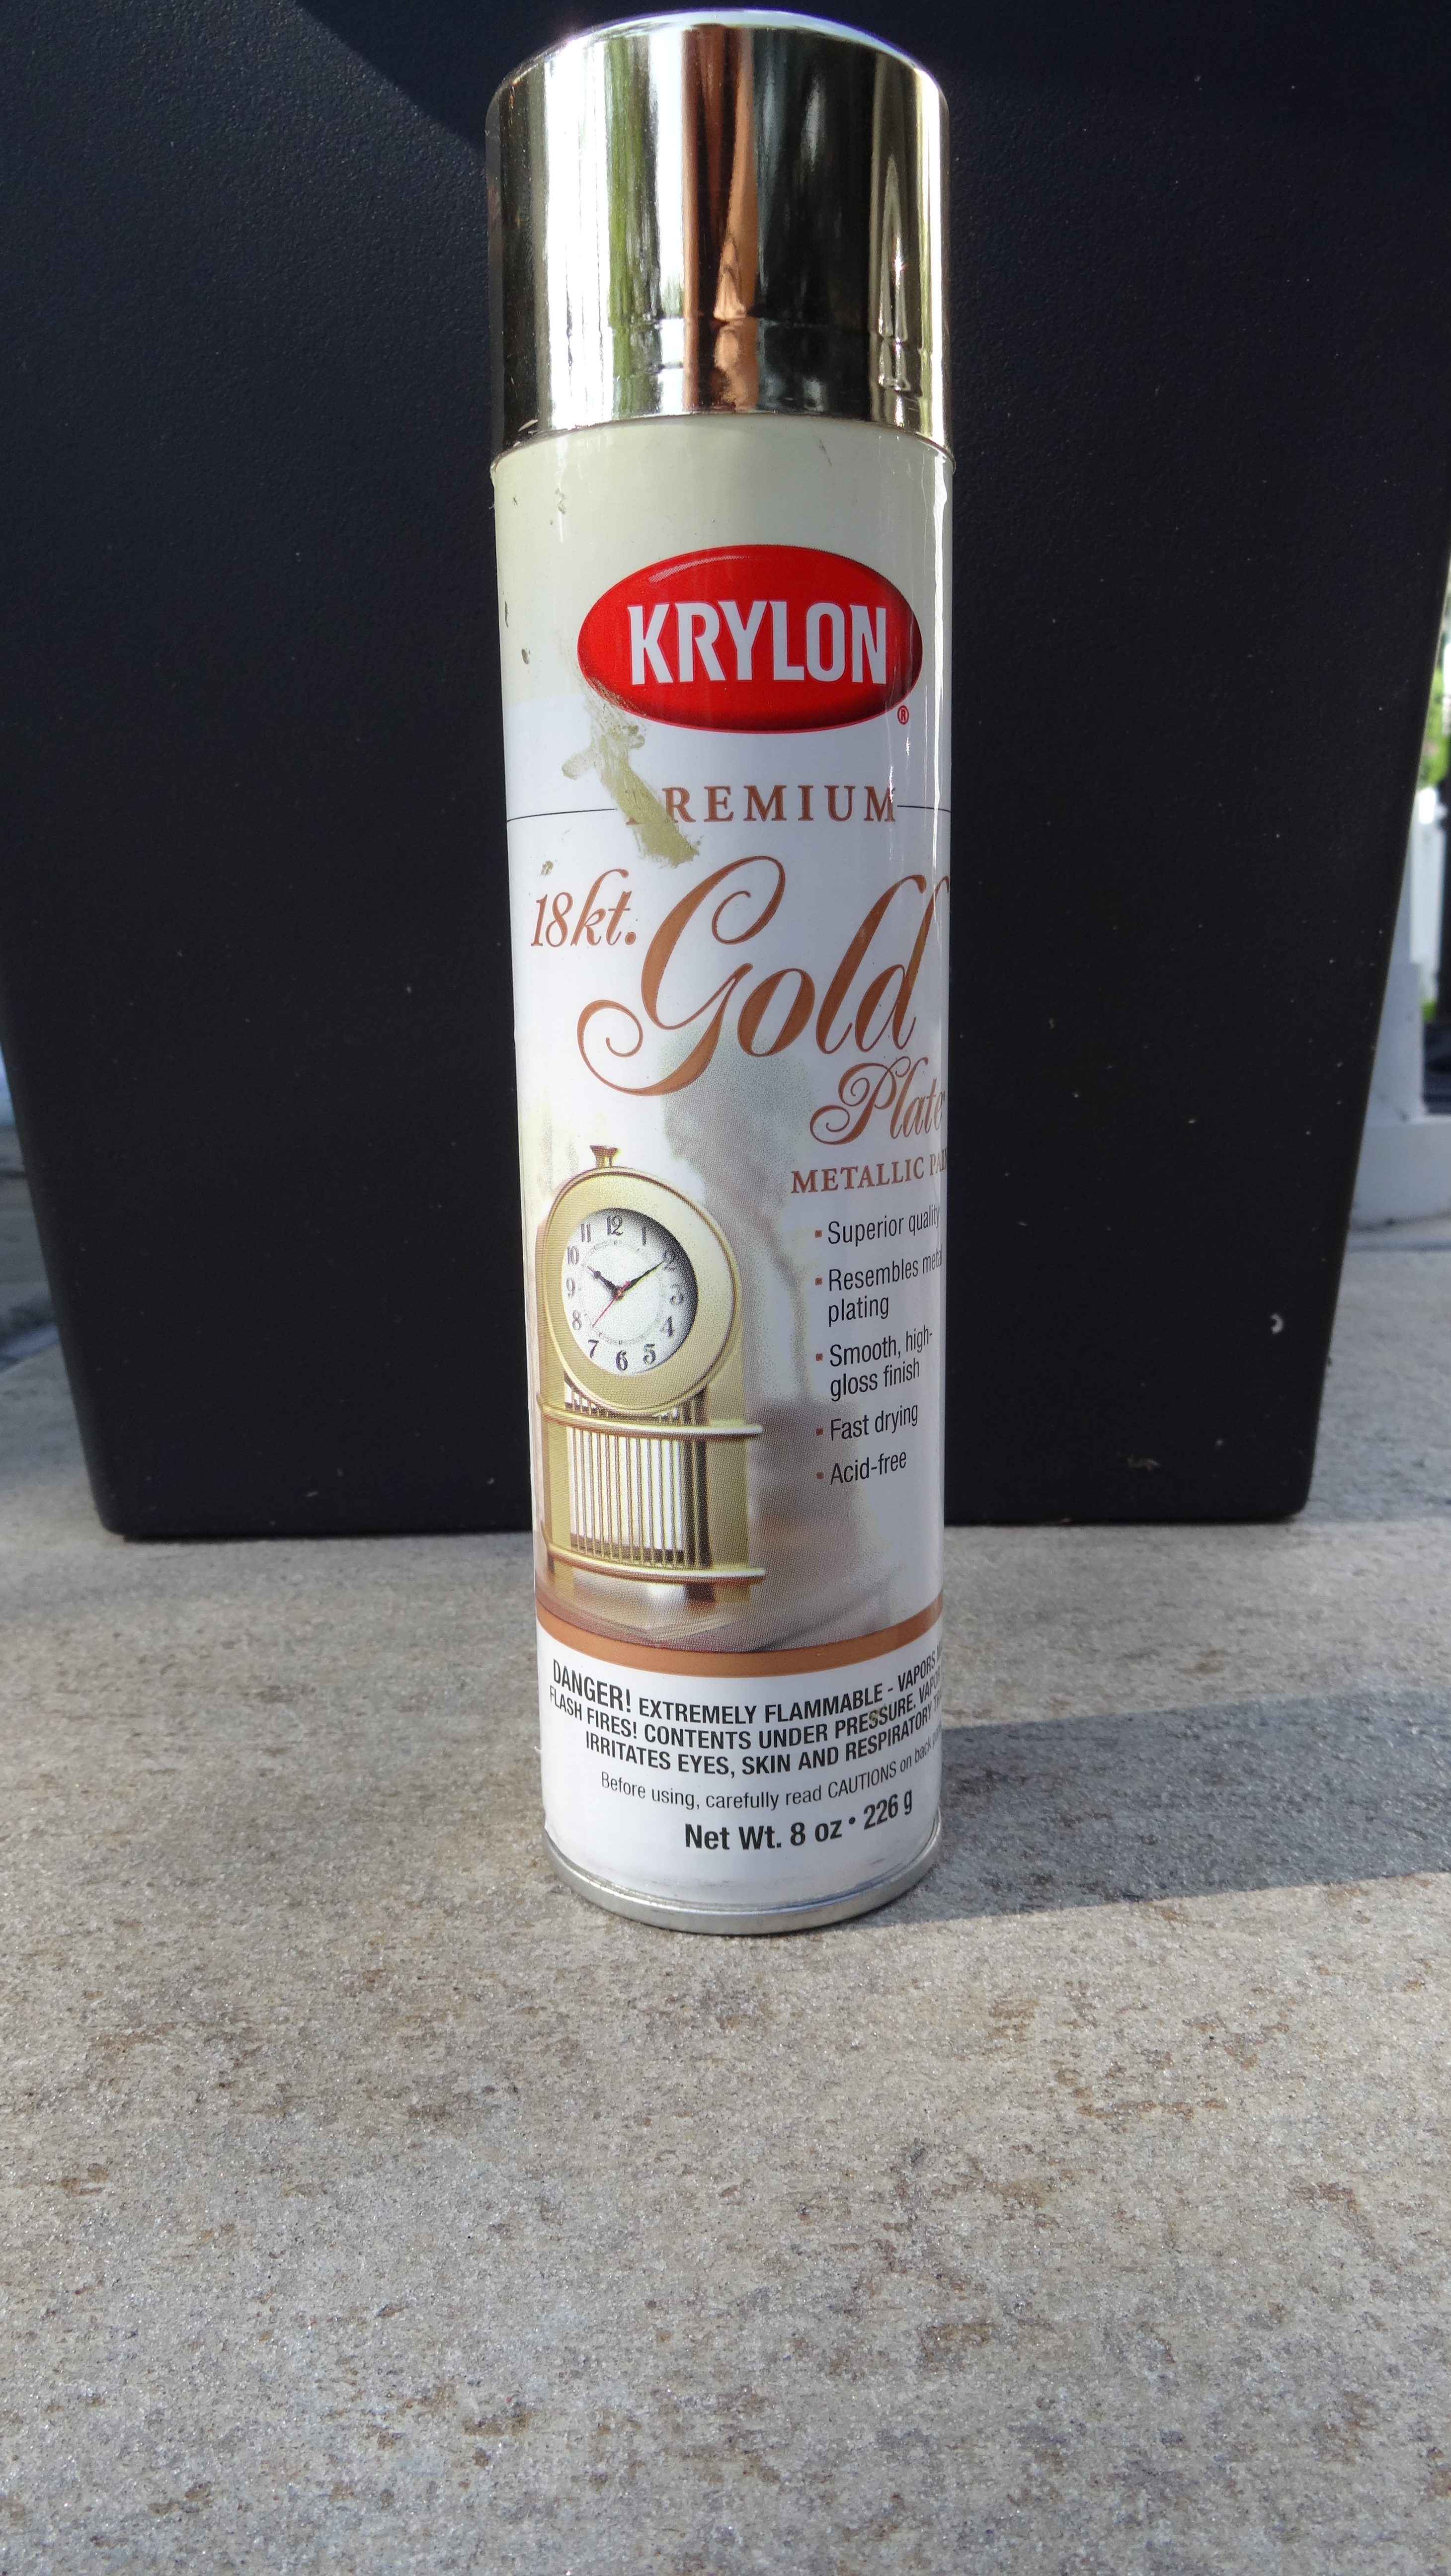
and this paint, Krylon 18k Gold Plate spray paint.

 DSC01146

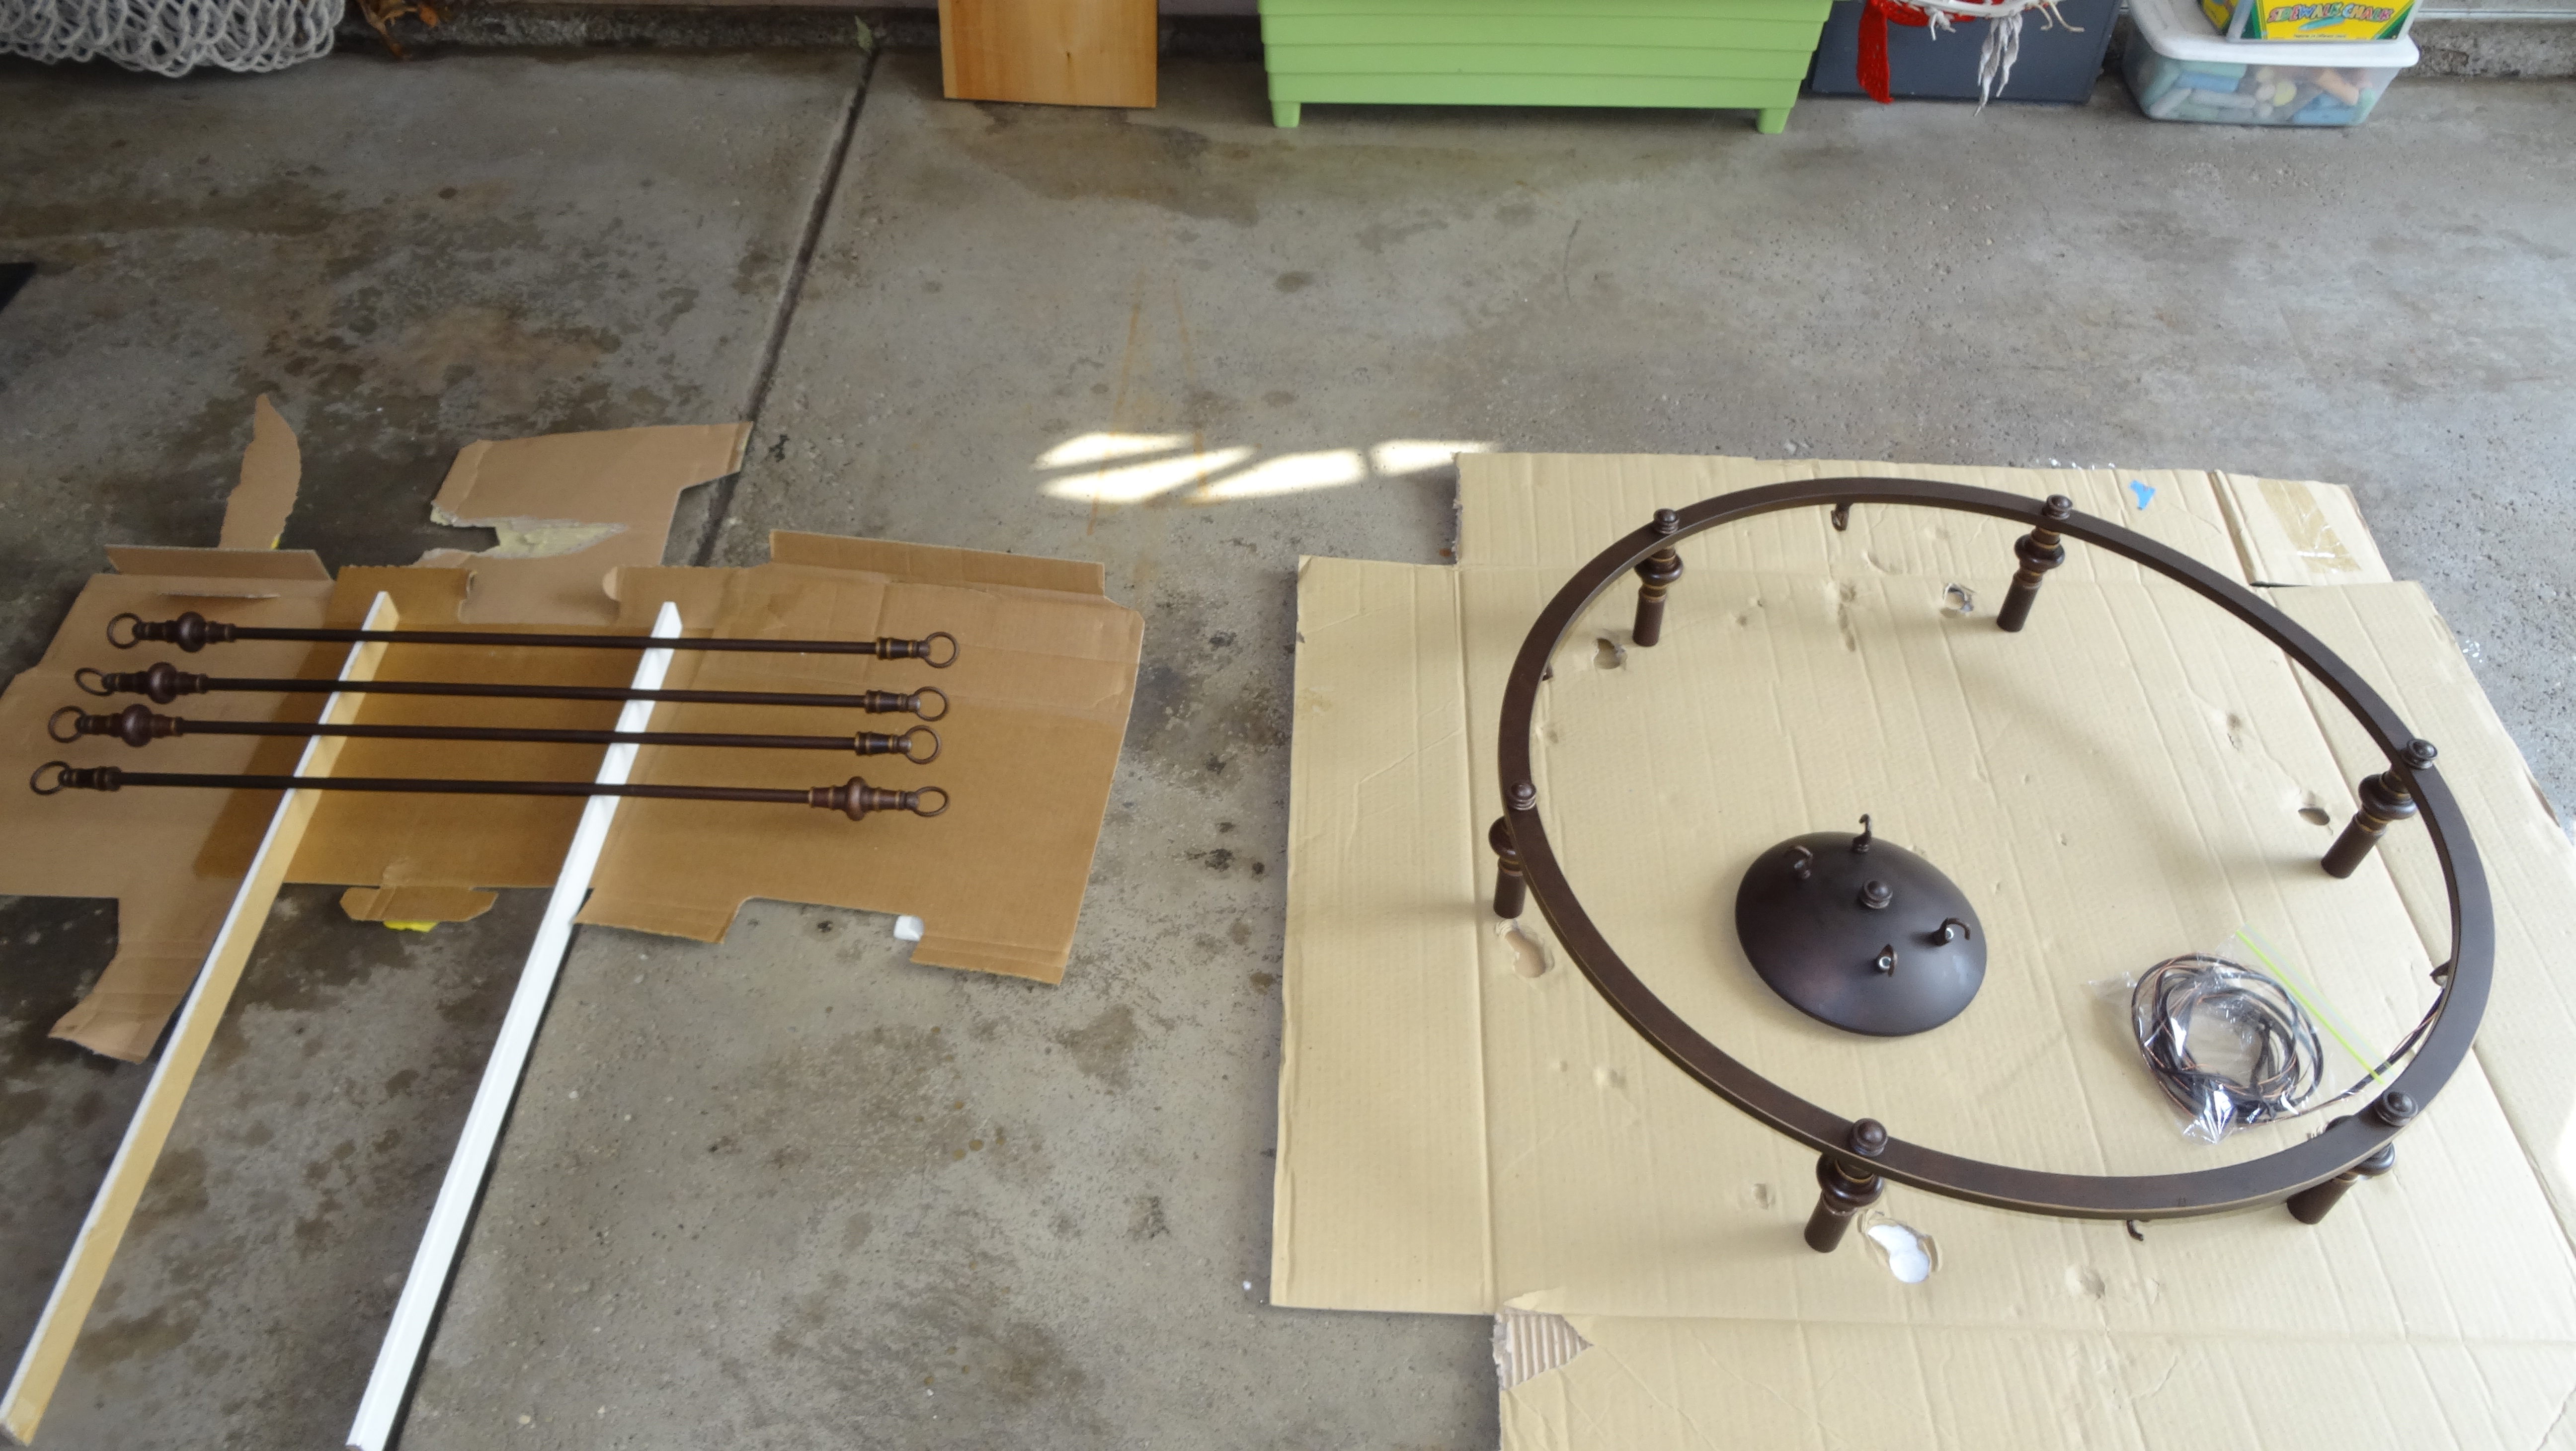
Then my magic Hubby put his perfectionist in gear.  We took out all the pieces and figured out how to reassemble them so the Chandelier would be the right height.  There were 2 poles that connected to give it a maximum height that was way higher than we need so we took one of the poles out and it gave us the perfect drop from the center beam of our great room.  Then M put pieces of painter’s tape over the bulb sockets before painting.

DSC01139DSC01143DSC01144

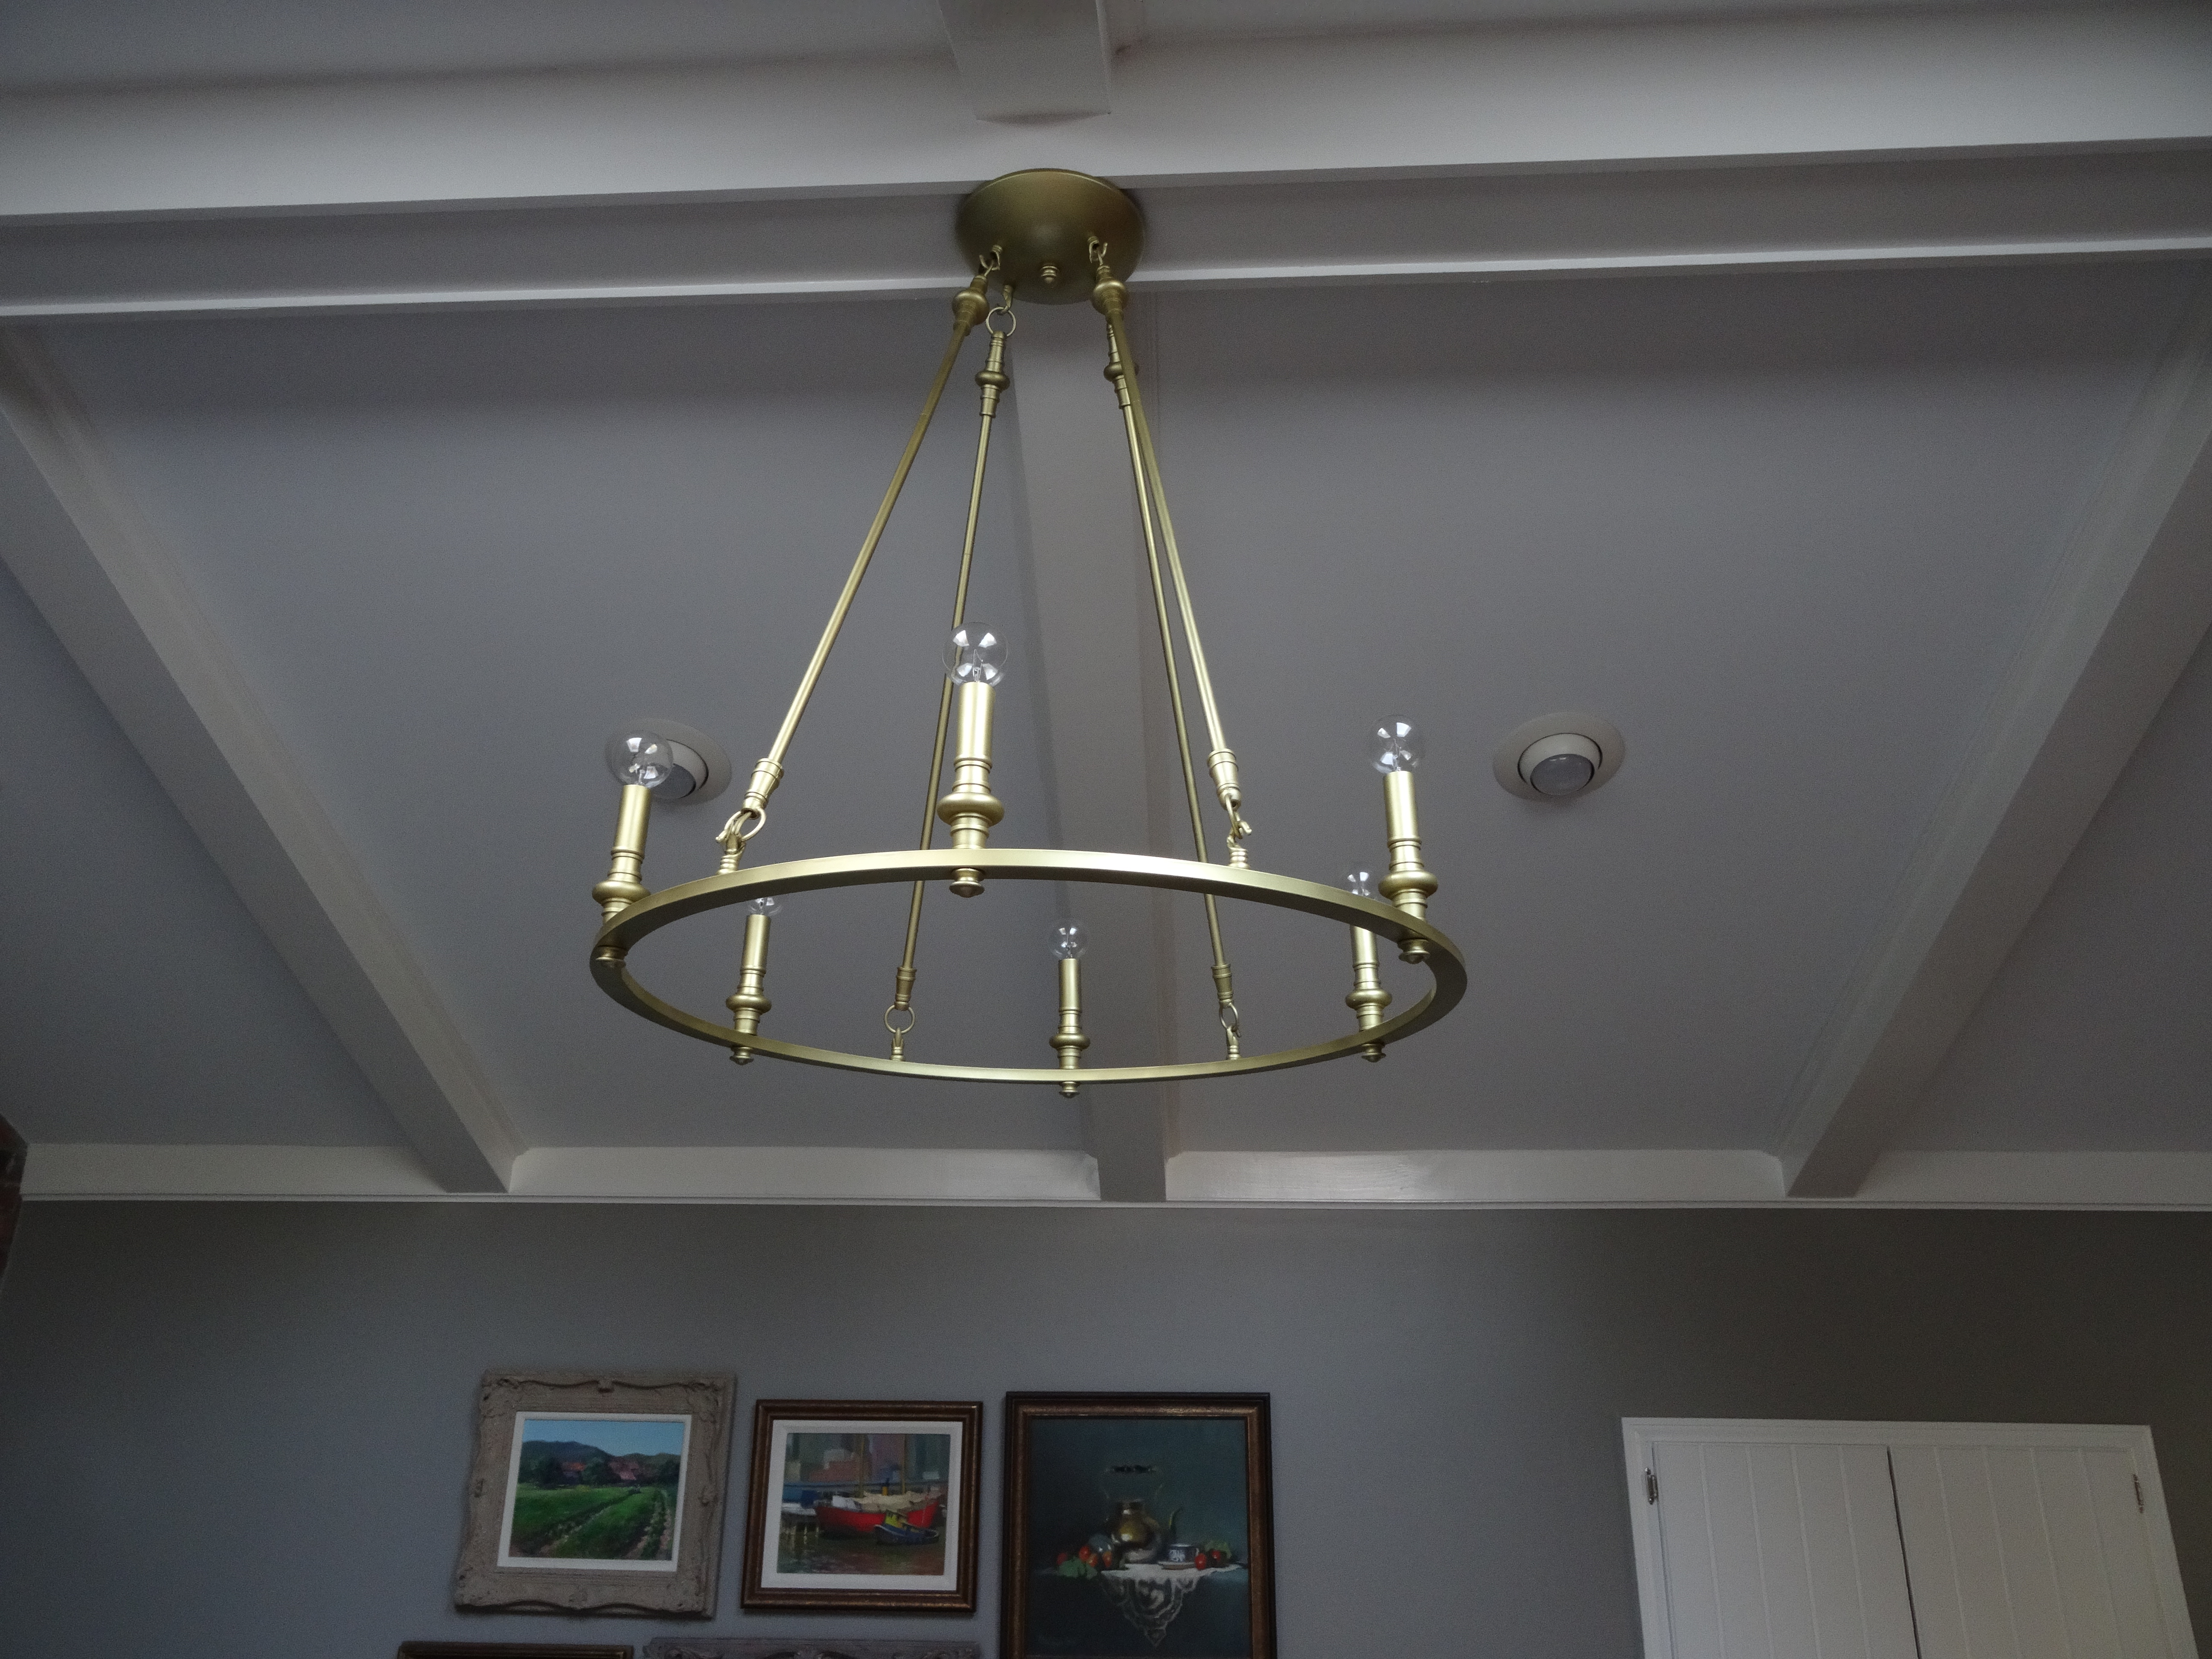
Pretty easy, right? This is what we have so far with exposed bulbs…

DSC02264

but I was in Target the other day and spied these little lamps for $22 and I might have to add shades to look more like the Tory Burch Chandelier… hmmmm…stay tuned.

Chalkboard Drawing

11 Thursday Sep 2014

Posted by clearlycorinna in DIY

≈ 2 Comments

Tags

Chalkboard fonts, Chlakboard Sign, DIY, easel, Sidewalk Chalk

DSC00994

So I chaired the BooHoo WooHoo Breakfast for our elementary school this year.  We needed a welcome sign to put at the banquet hall.  After a few ideas I settled on doing a chalkboard sign using my daughter’s art easel.  I started by finding the right fonts.  I used Channel, Bergamot Ornament, KG ten Thousand Reasons, Grutch Shaded, Sketch Block and Digs My Heart.

DSC00983

After sizing them a bunch of times, I got it right and cut and taped it so it would fit properly on the chalkboard.  I think this was the hardest part!DSC00987

 Then I rubbed chalk on the back of the paper, paying special attention to the areas directly behind lettering.

DSC00985

When I finished, I taped it back to the chalkboard and traced (pressing relatively hard) the outline of each letter.  This will leave an impression on the board.  It’s faint but it’s all you’ll need.

DSC00989

I used sidewalk chalk because I wanted color.  Dip the end of the chalk into a cup of water and start tracing and filling in the letters.

DSC00991

DSC00992

DSC00993

Clean up any residual chalk with a paintbrush.  And Voila!  Not bad, right?

DSC00994

Newer posts →
Follow on WordPress.com

Facebook

Facebook

Top Clicks

  • None

Goodreads

Archives

Categories

Follow me on Instagram, clearlycorinna

No Instagram images were found.

clearlycorinna@gmail.com

Create a free website or blog at WordPress.com.

Privacy & Cookies: This site uses cookies. By continuing to use this website, you agree to their use.
To find out more, including how to control cookies, see here: Cookie Policy
  • Subscribe Subscribed
    • clearlycorinna.com
    • Already have a WordPress.com account? Log in now.
    • clearlycorinna.com
    • Subscribe Subscribed
    • Sign up
    • Log in
    • Report this content
    • View site in Reader
    • Manage subscriptions
    • Collapse this bar
 

Loading Comments...